TLDR
- 28mm and 32mm describe miniature scale, not necessarily the size of your dungeon grid.
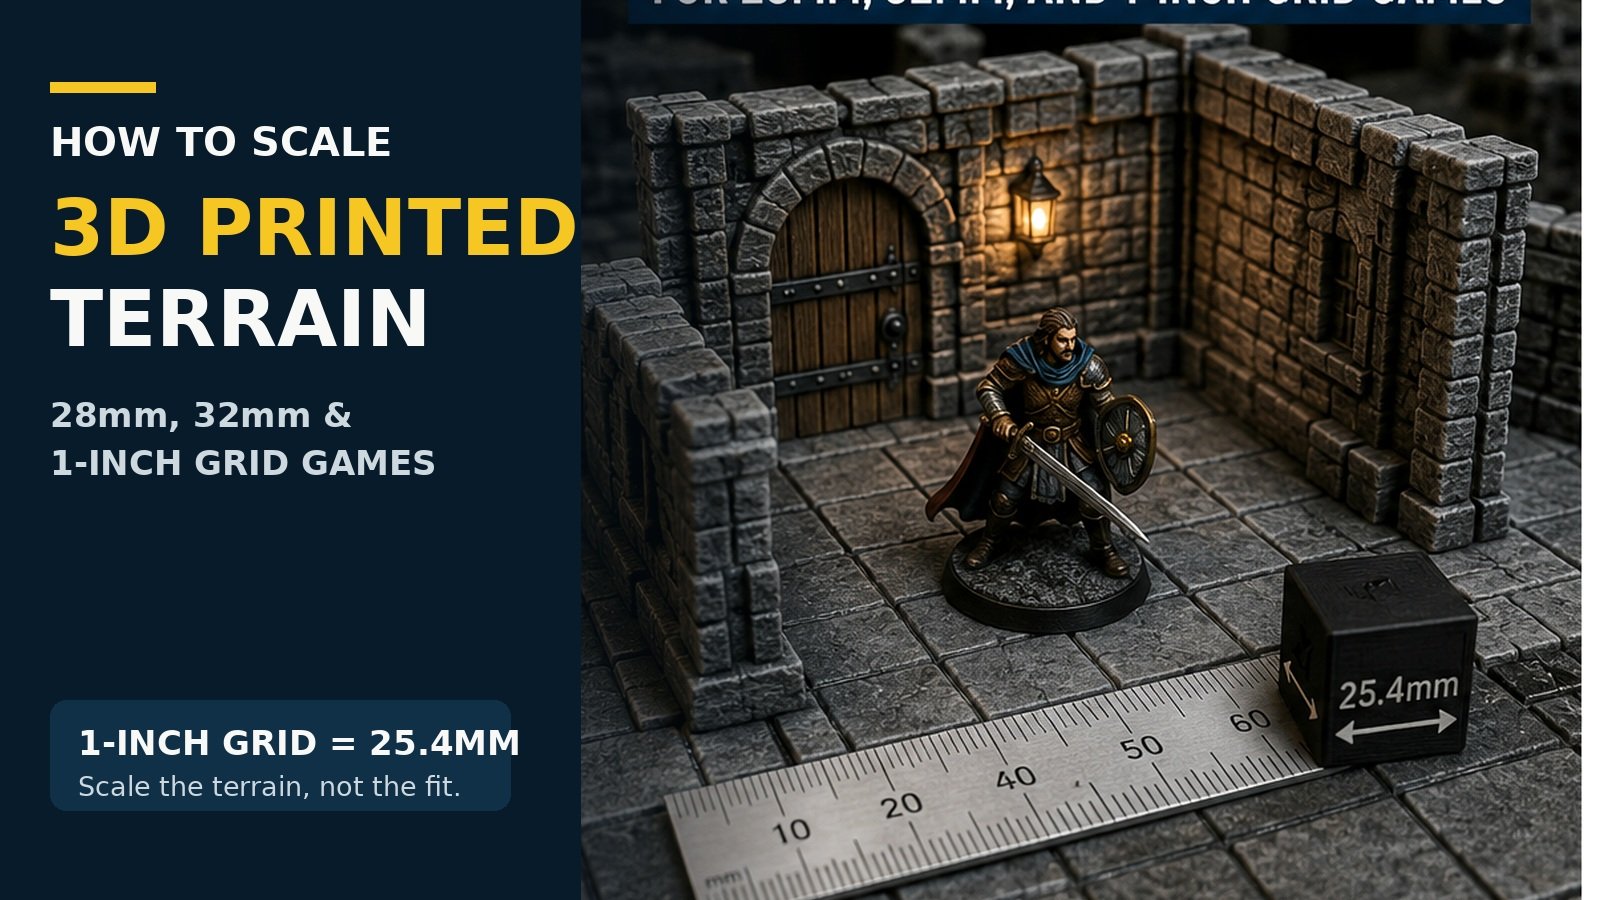
- A 1-inch grid uses squares that are 25.4mm wide. In D&D grid play, each square represents 5 feet of game space.
- For modular dungeon tiles, preserve the grid size, wall interfaces, clips, sockets, and connectors unless you intend to resize the entire terrain system.
- To convert a free-standing model from 28mm to 32mm scale, a starting point is 114.3%. Going from 32mm to 28mm is 87.5%.
- Print a small test piece before committing to an entire dungeon, building, or terrain set.
A 3D printed tavern can look perfectly reasonable on your computer and completely wrong once a miniature walks through the door.
That is the problem with 3D printed terrain scale. There are several measurements in play at the same time. A file might be described as 28mm terrain, 32mm terrain, 1:56 scale, or compatible with a 1-inch grid. Those terms overlap, but they do not mean exactly the same thing.
And once modular dungeon tiles enter the picture, simply increasing an STL to 114% can create a second problem. Your characters may look better next to the walls, but now the floors, connectors, doors, and grid squares no longer match the rest of your terrain.
The safest approach is to decide which dimensions actually matter before touching the scale slider.
What Does 28mm or 32mm Terrain Scale Actually Mean?
The first distinction is between miniature scale and grid scale.
Terms such as 28mm and 32mm generally describe the approximate visual scale of the miniatures a terrain set is intended to accompany. They are useful compatibility labels, but they should not be treated as precision engineering dimensions.
Different miniature ranges have different proportions. Some models are slim and realistically proportioned. Others use a more exaggerated “heroic scale” with larger heads, hands, weapons, armor, and bases.
Two models sold as 32mm miniatures can therefore look noticeably different beside the same door.
This is why the best test of tabletop terrain is rarely:
Is this mathematically 32mm?
A better question is:
Does this terrain work with the miniatures I actually use?
For a dungeon, that means looking at doors, corridors, ceilings, stairs, furniture, and playable floor area. For wargaming terrain, base clearance and sight lines may matter more than an exact architectural scale.
Use the Grid as the Anchor for Modular Dungeon Terrain
Grid-based terrain is different from a stand-alone statue or building.
If you’re making terrain for a 1-inch grid, each physical square is 1 inch, or 25.4mm, across.
Dungeons & Dragons uses square grid spaces representing 5 feet of game distance. The rules do not require your physical squares to be exactly one inch, but 1-inch battle grids are a common physical format for tabletop play.
Once you build a modular terrain system around a specific grid dimension, that dimension becomes one of the most important measurements in the design.
Imagine you have a dungeon tile measuring exactly 25.4mm square.
You find out that the designer calls the terrain 28mm scale, while your miniatures are marketed as 32mm. You resize the entire STL to 114.3%.
Your square is no longer 25.4mm.
It is about 29.0mm wide.
One tile does not sound dramatically different. But a room ten squares wide has now grown by roughly 36mm. More importantly, it will not line up with your existing 1-inch terrain.
The same problem affects clips, magnets, wall channels, locking tabs, sockets, doors, pillars, stairs, and other mechanical features.
For modular terrain, preserve the system first
If the STL is part of a connected dungeon-tile system, I would usually prioritize dimensions in roughly this order:
- Grid footprint
- Connector dimensions
- Floor and wall interfaces
- Miniature base clearance
- Door and passage clearance
- Visual wall height
- Decorative scale
That last item still matters. It just should not break the first six.
28mm vs. 32mm Terrain: When Should You Rescale?
For a free-standing model, converting between scales is simple mathematically.
Use:
Target scale ÷ original scale × 100
For 28mm to 32mm:
32 ÷ 28 × 100 = 114.3%
For 32mm to 28mm:
28 ÷ 32 × 100 = 87.5%
So if you download a free-standing 28mm cottage and want to try it with 32mm miniatures, 114% is a reasonable starting point.
But it is only a starting point.
Good candidates for uniform scaling
Uniform scaling tends to work well for:
- Trees
- Rocks
- Ruins
- Statues
- Crates
- Stand-alone buildings
- Barricades
- Large scatter terrain
- Furniture without mechanical interfaces
- Decorative dungeon pieces
If everything grows together, the original proportions remain intact.
Be careful scaling these models
Think twice before globally resizing:
- Grid-based floor tiles
- Clip-together dungeon tiles
- Magnetic terrain
- Walls that fit into floor sockets
- Hinged doors
- Stackable buildings
- Peg-and-hole systems
- Bridges that connect to specific platforms
- Stairs designed to reach a fixed floor height
- Interlocking castle walls
- Terrain intended to mix with an existing set
The issue is not that your slicer cannot resize these objects. It can.
The issue is that every functional dimension gets resized too.
A 5mm peg becomes a 5.7mm peg at 114.3%. A 2mm clearance becomes 2.29mm. A wall socket becomes larger. A floor height changes.
If you resize only one component, it may stop fitting entirely.
How to Rescale an STL Without Wrecking the Fit
Modern slicers make STL scaling simple. For example, PrusaSlicer supports both uniform and non-uniform scaling, and its measurement tools can be used to check a model’s dimensions before printing.
The difficult part is deciding what should be scaled.
Use uniform scaling for complete objects
If you’re changing the size of a stand-alone building, statue, rock formation, or piece of scatter terrain, start with uniform scaling.
This keeps the X, Y, and Z proportions together.
A 114.3% scale increases:
- width by 14.3%
- depth by 14.3%
- height by 14.3%
That usually produces the most natural result.
Avoid casual non-uniform scaling
Non-uniform scaling lets you make an object taller without making it wider, or wider without making it taller.
That can be useful for deliberately modifying a model, but it is not a clean substitute for changing miniature scale.
Making a 28mm building 14% taller while keeping its width unchanged can leave you with:
- unusually tall doors
- stretched stone blocks
- steep-looking wall proportions
- strange window shapes
- stairs that no longer look natural
Use non-uniform scaling when you have a specific design reason for it, not simply because the miniature looks a little too tall.
Check the Dimensions Players Actually Interact With
You do not need to measure every brick.
Concentrate on the places where miniatures and terrain meet.
| Terrain Feature | What to Check |
|---|---|
| Grid square | Does it match your existing battle grid or tile system? |
| Door opening | Can your common miniature bases and poses pass through? |
| Corridor | Can figures stand beside walls without constant interference? |
| Stairs | Can miniatures sit or stand on the steps reasonably well? |
| Wall height | Can players see and reach figures inside rooms? |
| Floor height | Does it line up with stairs, bridges, balconies, and upper levels? |
| Connector | Does it still fit mating terrain after scaling? |
| Furniture | Does it look believable beside your actual miniatures? |
Wall height is a good example of why mathematical scale is not always the best tabletop scale.
A perfectly realistic wall can be annoying during play if it constantly blocks your view of the room. Many tabletop terrain designs deliberately compromise architectural realism to improve access.
Doors have a similar problem. A door can look correct beside a standing miniature but still be too narrow for the miniature’s base, weapon, wings, or dramatic pose.
Playable scale is sometimes more useful than literal scale.
Scaling Doors, Walls, and Stairs
Doors are one of the fastest ways to judge a terrain set.
Put a commonly used miniature directly beside the opening.
You want the door to look plausible without requiring every model to squeeze through sideways.
Remember that miniature poses can be much wider than the character’s body. A sword, shield, cloak, staff, or outstretched arm can add substantial width.
Walls
For dungeon terrain, taller is not automatically better.
Tall walls look impressive in photos, but excessively tall walls can make it difficult to:
- move miniatures
- see floor details
- measure distances
- reach figures in narrow rooms
- photograph the encounter
A lower wall may be less architecturally realistic while being much easier to play with.
Stairs
Stairs need special attention because they often connect two fixed heights.
If you increase a staircase to 114% but leave the upper floor unchanged, it no longer reaches the same elevation.
And if miniatures are supposed to stand on individual steps, check the available tread depth before printing a long staircase.
The Problem With Scaling Connected Terrain One Piece at a Time
One of the easiest ways to create an unusable terrain collection is to scale files independently.
Suppose you have:
- floor tiles
- straight walls
- corners
- doors
- stairs
- pillars
- bridge sections
If these parts belong to the same modular system, treat them as a system.
Do not make the doorway 110%, the walls 115%, and the stairs 120% because each one looks better individually.
They may look fine in the slicer and fail completely when assembled.
If you genuinely want to convert an entire modular terrain collection to another scale, scale every mechanically related part by the same amount and print a small compatibility set first.
But remember: you will also be changing the grid.
For most grid-based RPG terrain, I would rather keep the grid and mechanical system intact and accept a small visual difference between nominal 28mm and 32mm miniatures.
Print a Calibration Set Before a Whole Dungeon
A 15-minute inspection can save many hours of printing.
Before printing dozens of tiles, choose a small group that represents the system.
A useful 3D printed terrain scale test might include:
- one floor tile
- one straight wall
- one corner
- one doorway
- one connector
- one piece of furniture
- one stair section, if applicable
Then bring out the miniatures you actually play with.
Not just one miniature either.
Try:
- a normal humanoid
- a miniature with a wide pose
- a shield user
- a larger monster
- one of your biggest commonly used bases
Build a tiny encounter area and move the figures through it.
You will learn more from that test than from staring at model dimensions on a monitor.
Common 3D Printed Terrain Scaling Mistakes
Treating 28mm and 32mm as exact standards
They are useful categories, but miniature proportions vary.
Judge compatibility with your collection.
Rescaling the grid to fix a visual problem
If the grid already works, be cautious about changing it.
A slightly oversized miniature on a consistent grid is usually easier to deal with than an entire terrain collection using incompatible square sizes.
Forgetting connectors
Scaling changes pegs, sockets, hinges, clips, rails, and magnet pockets along with the visible model.
Printing an entire set before testing
Print one representative section first.
Terrain is repetitive by nature. A small dimensional problem repeated across 80 tiles becomes a large problem.
Checking only standing height
A miniature’s sword, shield, wings, base, and pose may cause more clearance problems than its height.
Assuming realism equals playability
Tabletop terrain is a game component.
Sometimes shortening a wall, widening an opening, or simplifying a staircase produces a better piece even if the architecture becomes slightly less realistic.
Which Scale Should You Use?
For most grid-based fantasy RPG terrain, start with the grid system you intend to use.
If you’re playing on a 1-inch grid, preserving the 25.4mm square usually makes more sense than resizing an entire dungeon because one miniature range is labeled 32mm instead of 28mm.
For free-standing wargaming terrain, buildings, ruins, and scatter pieces, you have more freedom. Uniformly scaling a model until its doors, windows, cover, and overall mass look right can work very well.
And for display terrain, you can ignore grid compatibility entirely and choose whichever scale gives you the composition you want.
The important point is to identify the constraint before you resize the STL.
FAQs
Is 28mm terrain compatible with 32mm miniatures?
Often, yes. The difference may be noticeable around doors, furniture, and smaller architectural details, but many terrain pieces work with both. Print or inspect a representative piece before rescaling an entire collection.
What percentage should I use to scale 28mm terrain to 32mm?
A direct mathematical conversion is about 114.3%. That works best for stand-alone terrain. Be careful using it on modular grid systems because connectors and grid dimensions will also become 14.3% larger.
How do I scale 32mm terrain down to 28mm?
A direct conversion is 87.5%.
Again, that percentage is most useful for stand-alone models rather than mechanically connected terrain.
Is a 1-inch grid the same thing as 28mm scale?
No. A 1-inch grid describes the physical dimensions of the playing squares. One inch equals 25.4mm. A 28mm scale label describes the approximate miniature scale a model is intended to complement.
They are related tabletop conventions, but they describe different things.
Should I resize dungeon tiles for larger miniatures?
Usually not unless the miniatures physically cannot function on the tiles. Keeping a consistent grid and connector system is often more valuable than achieving a perfect visual scale match.
Can I resize an STL directly in my slicer?
Yes. Slicers such as PrusaSlicer provide uniform and non-uniform model scaling. For terrain, uniform scaling is generally the safer choice unless you deliberately want to modify a particular dimension.
Conclusion
Getting 3D printed terrain scale right is less about finding one universal number and more about deciding which measurements cannot change.
For modular dungeon terrain, that usually means protecting the grid, connectors, floor heights, and mating surfaces first. A miniature that looks slightly large beside a wall is rarely a serious problem. A dungeon tile that no longer connects to the other 60 tiles in your collection is.
For free-standing buildings and scatter terrain, you have much more freedom. Use 114.3% as a starting point when converting 28mm designs to 32mm, compare the result against your actual miniatures, and adjust from there.
And before you print the castle, print the door.
That little test piece can tell you almost everything you need to know.
References
- D&D Beyond, Playing the Game: Playing on a Grid. The current Basic Rules specify that each grid square represents 5 feet of game distance.
- Prusa Knowledge Base, Move, Rotate, Scale Tools. Covers uniform and non-uniform model scaling in PrusaSlicer.
- Prusa Knowledge Base, Measurement Tool. Explains checking model dimensions and scaling an object to a required measurement.
- Prusa Knowledge Base, Types of Printers and Their Differences. Background on common FDM/FFF and resin printing processes.